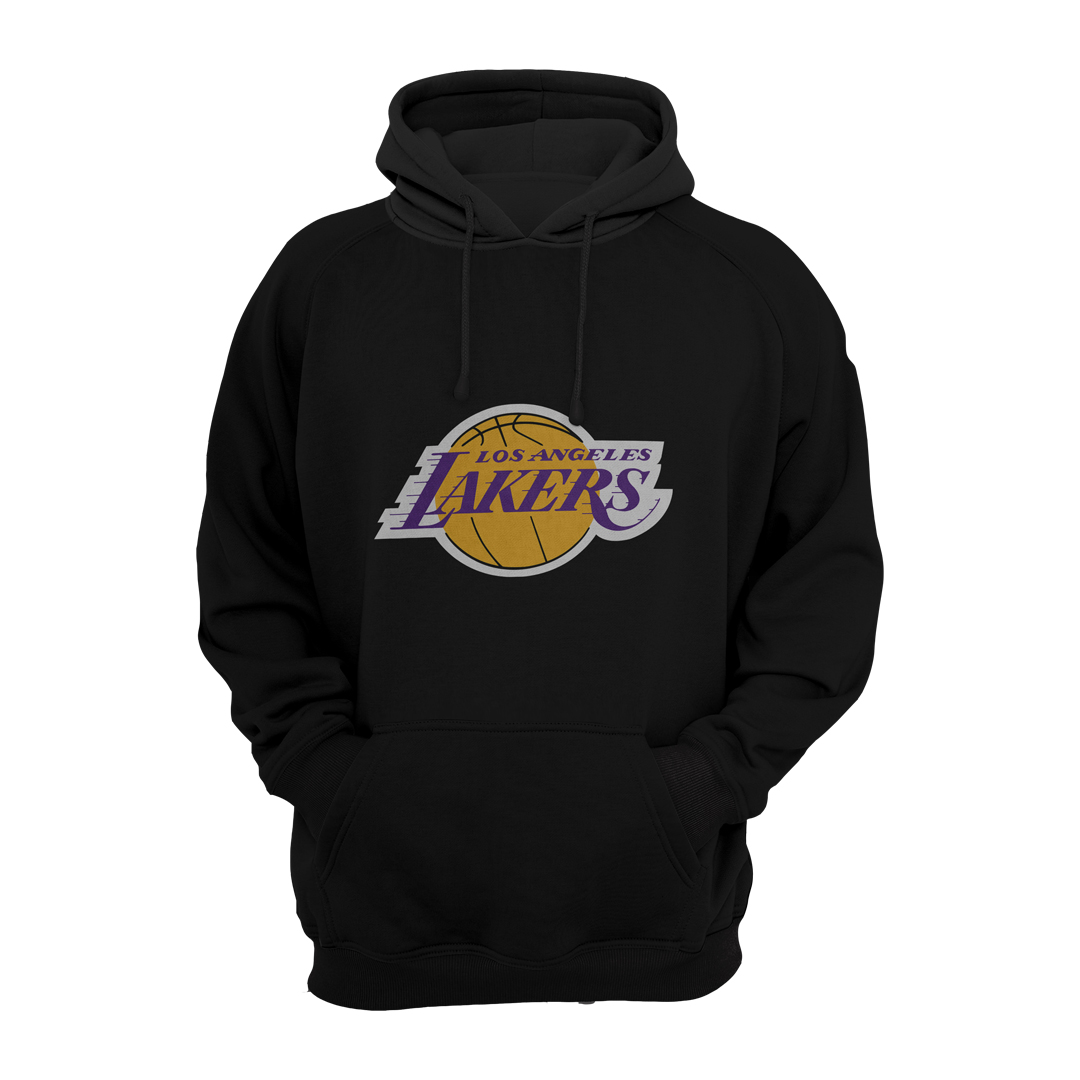
Customizing hoodies is a great way to express your personal style or create unique apparel for various purposes, such as team events, group gatherings,
or personal branding. Here are the steps to customize hoodies:
Choose a Hoodie: Start by selecting the type of hoodie you want to customize. You can choose from different styles, materials, and colors.
Ensure that it’s the right size for your needs.
Design: Decide on the design you want to add to the hoodie. You can create your own design, use pre-made templates, or hire a graphic designer to assist you.
Common design elements include logos, text, graphics, and artwork.
Printing Method:
a. Screen Printing: This method is suitable for large quantities and simple designs. Ink is pressed through a stencil onto the hoodie fabric.
b. Direct-to-Garment (DTG) Printing: Ideal for detailed and colorful designs. It’s like printing a picture on a piece of paper, but on a hoodie.
c. Heat Transfer: This involves printing the design on transfer paper and then transferring it onto the hoodie using heat and pressure.
d. Embroidery: A classic and durable method that involves stitching the design onto the fabric. It works well for logos or text.
Choose a Customization Service: You can work with local print shops, online custom apparel websites, or DIY methods if you have the equipment and skills.
Upload or Provide Your Design: If you have a digital design, upload it to the service you choose. Ensure the design meets their specifications,
such as file format and size.
Customization Options: Specify any additional customization options, such as the location of the design (front, back, sleeves, hood), hoodie color, and sizes.
Quantity: Decide how many hoodies you want to customize. Some services may have minimum order requirements.


Reviews
There are no reviews yet.